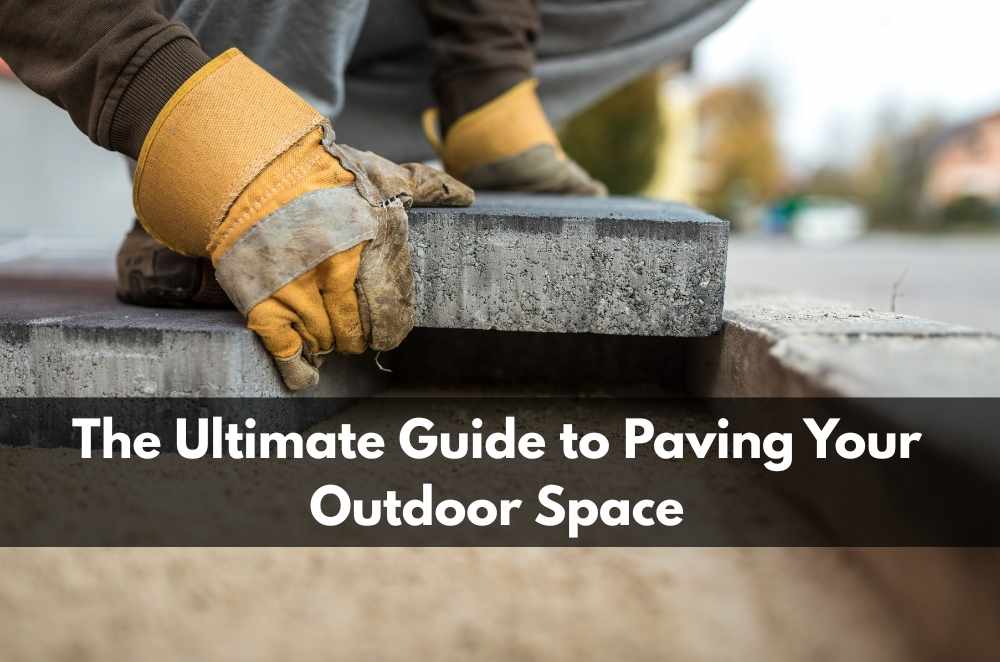
Great outdoor areas don’t happen by accident. They come from planning, patient ground prep, and materials that suit the site—not just the mood board. If you’re after a patio that looks good now and still earns its keep years from today, start with the base, then match your paver type to soil, shade, and foot traffic. For projects that need a proven, practical approach, I’ve found that considering durable paving solutions early keeps the design anchored to longevity rather than short-term aesthetics. Conversations across Houzz, Bunnings Warehouse, and Better Homes and Gardens often point to the same core idea: strong base prep, sound drainage, and practical finishes beat quick makeovers every time. From there, it’s about tolerances, drainage, and the small tricks that stop edges wandering or slabs rocking after heavy rain.
Planning the base and layout
A patio succeeds or fails in the base. Good compaction, clear drainage paths, and sensible set-out make every later step easier and cheaper.
Site reading: Map water flow, shade patterns, and tree roots, because these decide base depth, fall direction, and whether edging needs reinforcement.
Soil assessment: Identify clay, sand, or reactive soils, as each demands different sub-base depth and compaction passes to stay stable through seasons.
String lines: Set straight reference lines and check the square, since clean geometry makes cuts faster and keeps joints neat at the edges.
Service checks: Locate irrigation and power before digging, because fixing cut lines costs more than planning around them.
I once rebuilt a “wavy” path where the base was fine but the fall ran toward the house; flipping the slope by a few millimetres per metre kept thresholds dry and the joints tight. Spending extra time on this stage is the cheapest insurance you can buy against movement.
Choosing materials for Sydney conditions
Not all pavers wear the same. Heat, salt spray, leaves, and traffic change how surfaces age. Match paver type to use and maintenance appetite, then lock in a finish that suits cleaning and slip resistance.
Concrete pavers: Durable and consistent, offering predictable thickness and cost, while still allowing textures that grip underfoot when wet.
Natural stone: Strong and handsome, but needs sealing and mindful cleaning; softer stones mark under furniture without pads.
Clay brick: Classic looks and excellent colourfastness; tight tolerances help with soldier courses and neat curves along garden edges.
Porcelain slabs: Low porosity and high stain resistance; edges chip if mishandled, so cutting and handling need care.
Two practical tests help: place offcuts where rain hits hardest, and drag a chair foot across an unsealed sample. Surfaces that pass both tend to keep their dignity. Choices here also sit within broader landscape planning; principles of landscaping garden design emphasise practical planting and water-wise layouts that work with hard surfaces rather than against them. Materials, plants, and water all share the same stage—balance them from the start.
Installation details that prevent failures
Small tolerances can make big differences. Think in millimetres, not centimetres. The right bedding depth, firm edges, and controlled joints stop rocking, ant ingress, and weed lines.
Sub-base compaction: Layer road base in thin lifts and compact each pass, because hollow spots telegraph as wobbles later.
Screed discipline: Keep bedding sand even and undisturbed; walking on it before laying moves levels and invites future rocking.
Edge restraint: Use solid haunching or steel edging where loads are highest, as strong borders keep patterns locked through heat and rain.
Joint control: Sweep in polymeric sand or appropriate grout, ensuring instructions suit your stone and climate so joints don’t wash out.
In one courtyard, I swapped a loose brick edge for pinned steel; the difference showed up after the first storm—no spread, no trip lips. If you hire help, clarity matters as much as skill; knowing what to expect from a professional gardener—from site protection to clean-up standards—keeps conversations simple and outcomes tidy. Lay once, lay straight, and protect the work until it cures or settles.
Maintenance and small fixes that add years
A good patio is low-fuss, not no-fuss. A light routine and quick responses after wild weather extend the life of joints, keep algae away, and stop stains from becoming permanent.
Seasonal wash: Hose and soft brush at the change of season, because removing grime beats fighting algae and mould later.
Seal on schedule: Re-seal to the product’s cycle where needed, as fresh coatings resist spills and keep colour from chalking in full sun.
Joint top-ups: Re-sand gaps that open after the first big rain, since early attention prevents wobble and weed lines.
Edge checks: Inspect borders for migration and replace any loose spikes or haunching before movement spreads into the field.
I once left leaf litter on a pale stone through a wet fortnight; the tannins left ghosts that took hours to lift. Now I keep a stiff broom near the back door. Practical, incremental care wins over big weekend “rescues.” If you’re weighing incremental improvements, ideas like simple paving upgrades that transform patios sit comfortably with this small-steps approach—tidy edges, smarter lighting, and better furniture glides extend comfort without ripping up the lot.
Troubleshooting common issues
Even well-built patios can show quirks after heat, heavy rain, or a lively party. Quick, measured fixes protect the base and keep surfaces safe.
Rocking units: Lift the affected paver, top up bedding, and re-seat, because targeting the cavity prevents the wobble from spreading.
Sinking corners: Check for base washout near downpipes; redirect water and rebuild the local base in compacted lifts.
Efflorescence bloom: Let it dry, then brush and rinse; consider breathable sealers so moisture escapes instead of pushing salts to the face.
Weed lines: Address joint loss first, then treat growth; weeds often signal movement or missing sand, not just seeds on the wind.
When in doubt, work small and test; a neat square lifted and reset is better than chasing a whole run without knowing why it moved. I’ve learned to take photos before each fix so I can see whether the pattern returns—handy notes for future maintenance.
Bringing it together for a long-lasting patio
A great patio feels settled. It drains quietly, stays cool underfoot, and doesn’t ask for constant tinkering. Getting there is a sequence, not a gamble: read the site; set a base that suits the soil; choose materials for the weather and the work they’ll do; and install with patient, boring precision. From there, small habits—seasonal washes, quick joint top-ups, edge checks after a storm—keep movement at bay. Don’t be afraid to test ideas on offcuts and watch how the rain behaves before committing; the ground will tell you what it wants if you let it. I’ve found that when a patio respects the way water falls and the way feet actually travel across the yard, it blends into daily life and disappears into the background—exactly where it belongs. Build for how you’ll use the space on a Tuesday evening, not just how it photographs on a sunny Saturday. The result is comfort you barely notice, a garden that breathes, and a surface that stays honest through seasons.


Write a comment ...